Badger (Magnetic Badge Holder) Usage Guide
Back to the main page
Assembly Instructions
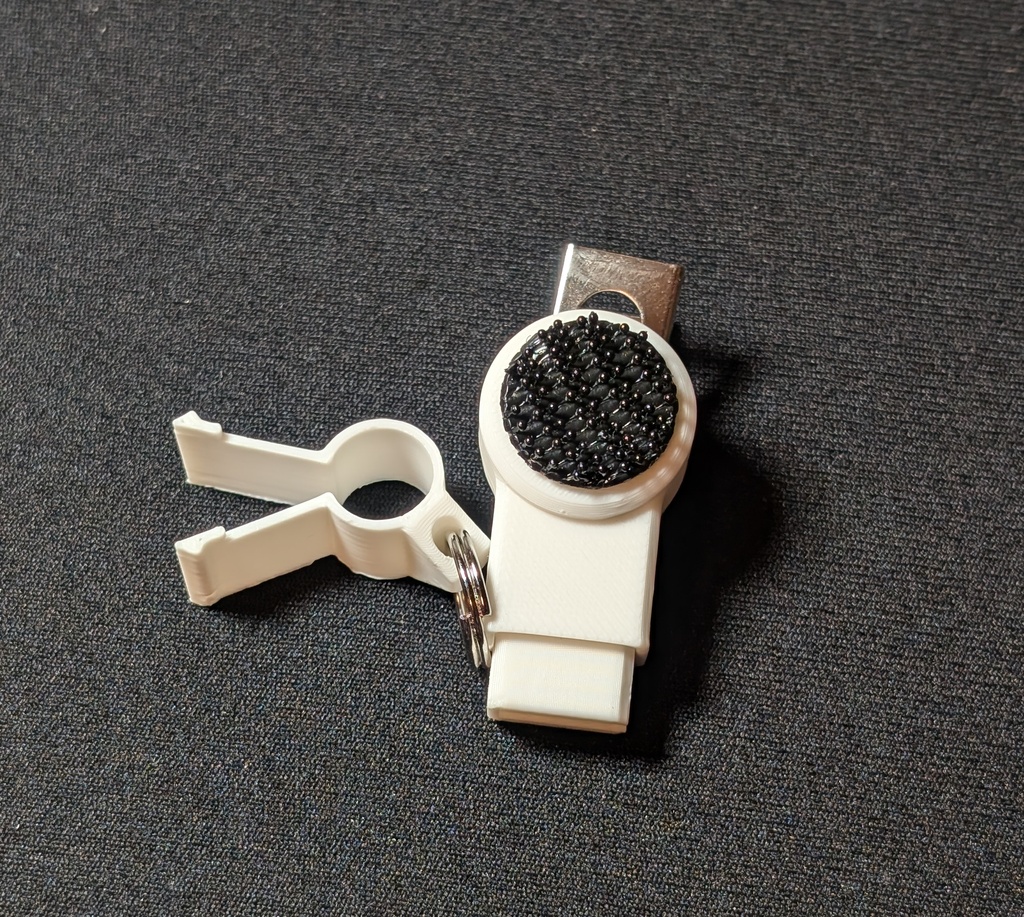 The Badger may arrive with the magnet block slotted in place in the main body unit.
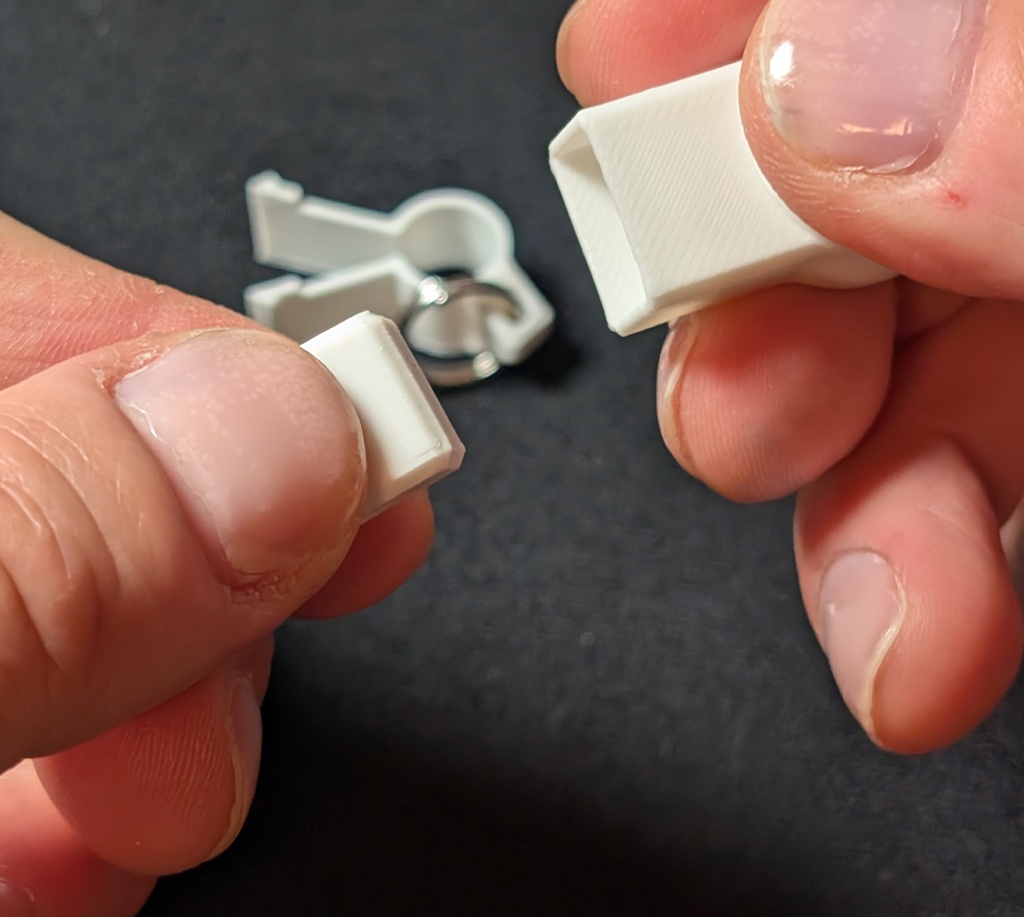 For assembly, you can leave it in place or pull it out. For this guide, I'll pull it apart.
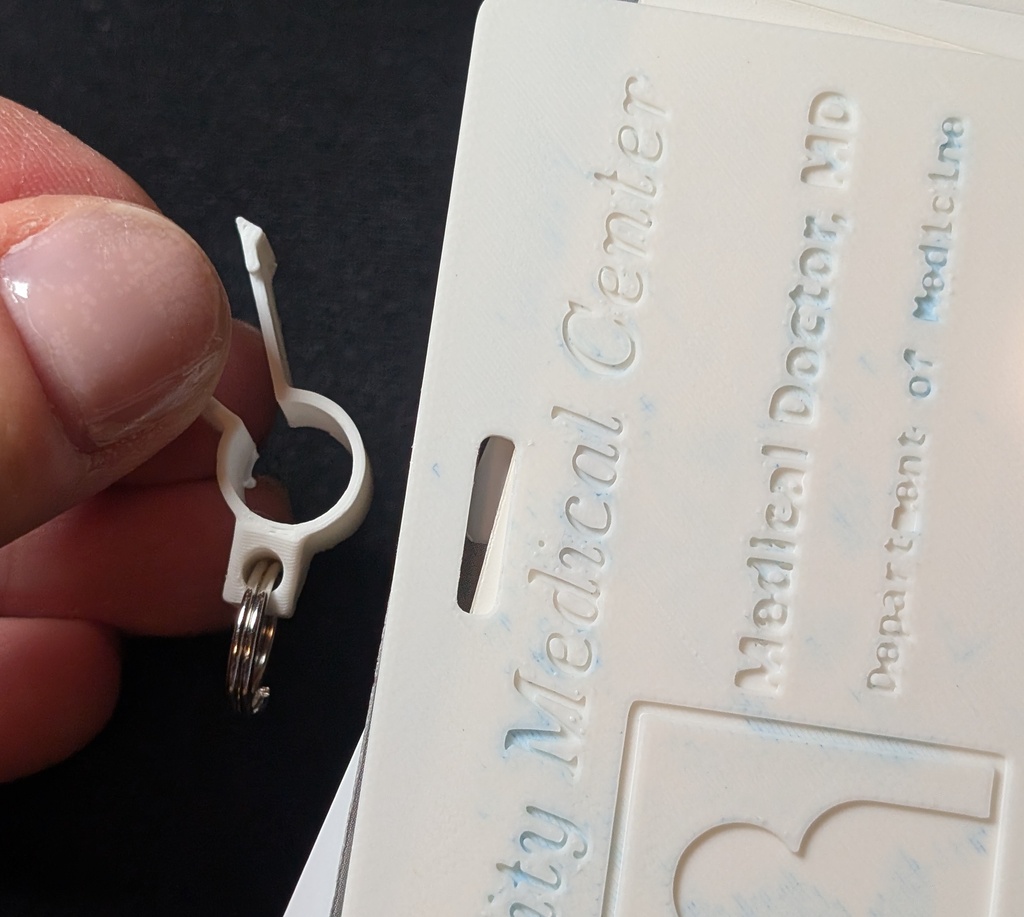 Slide your ID cards onto badge loop. The width of this piece is made to fit most standard badge cutouts (~14 mm).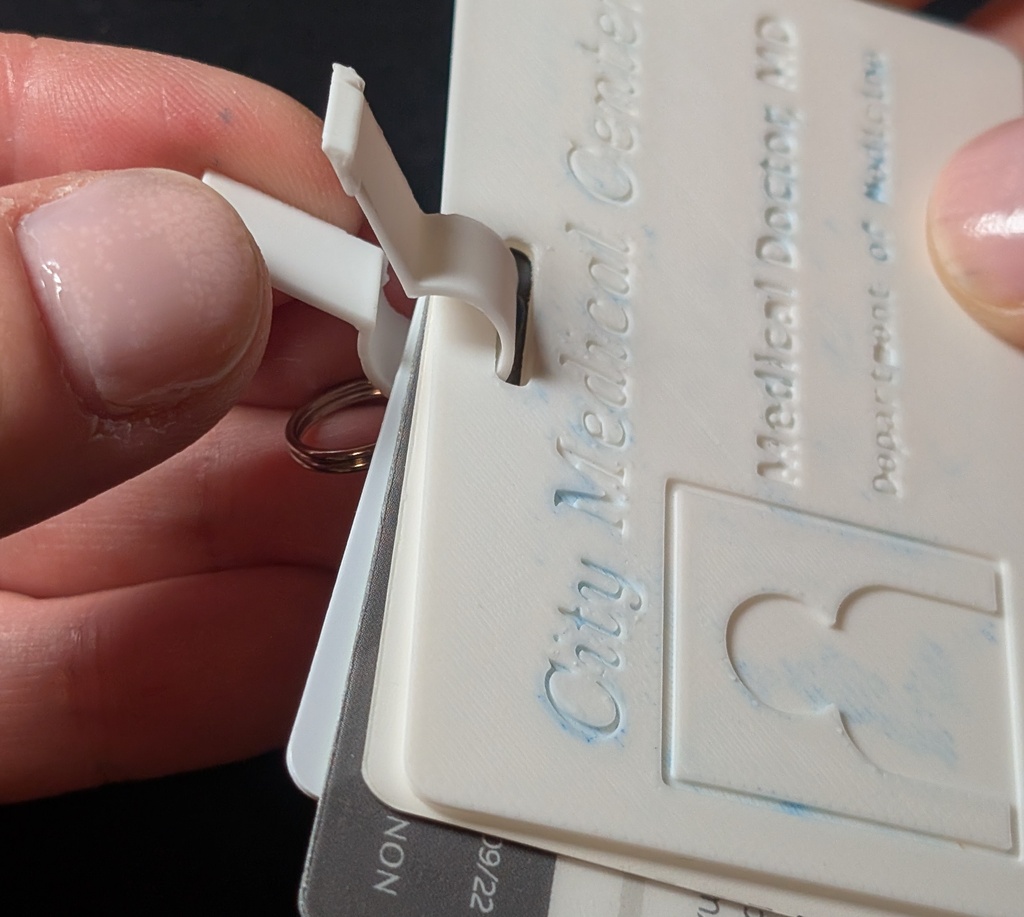
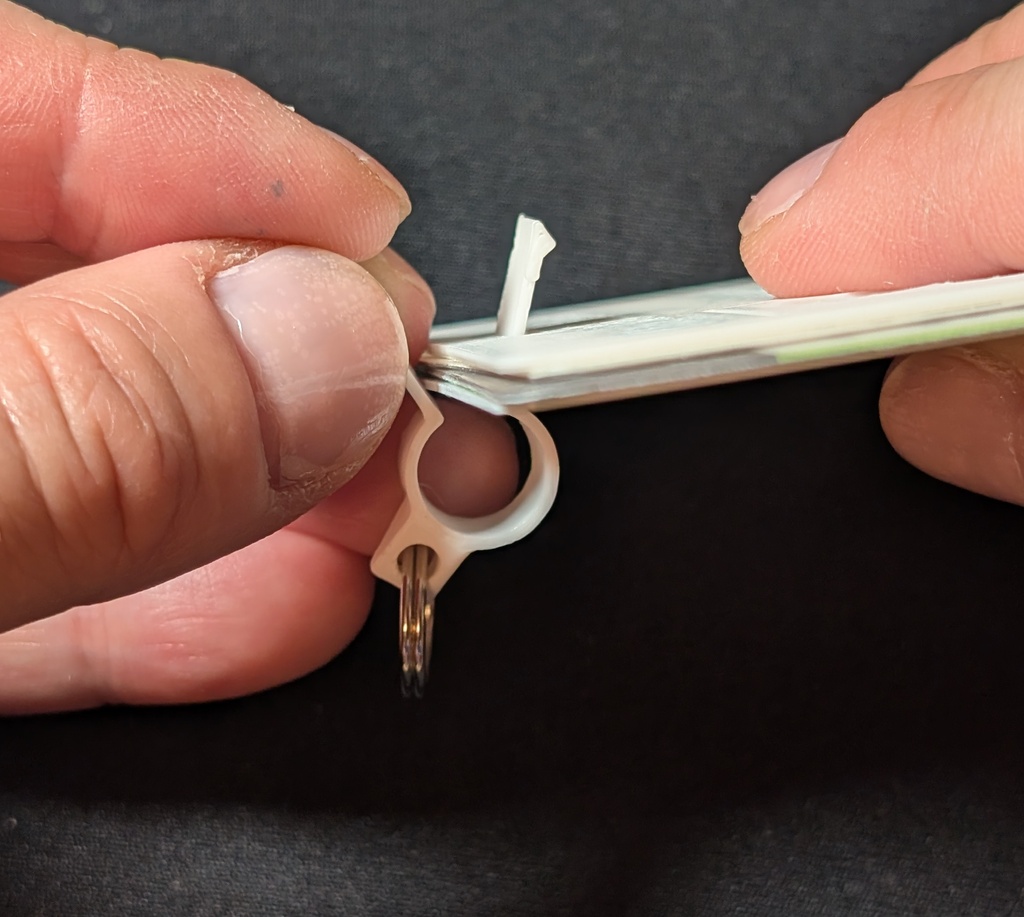 Make sure the keyring slot is on the other side, relative to the arm on which you are sliding the cards.
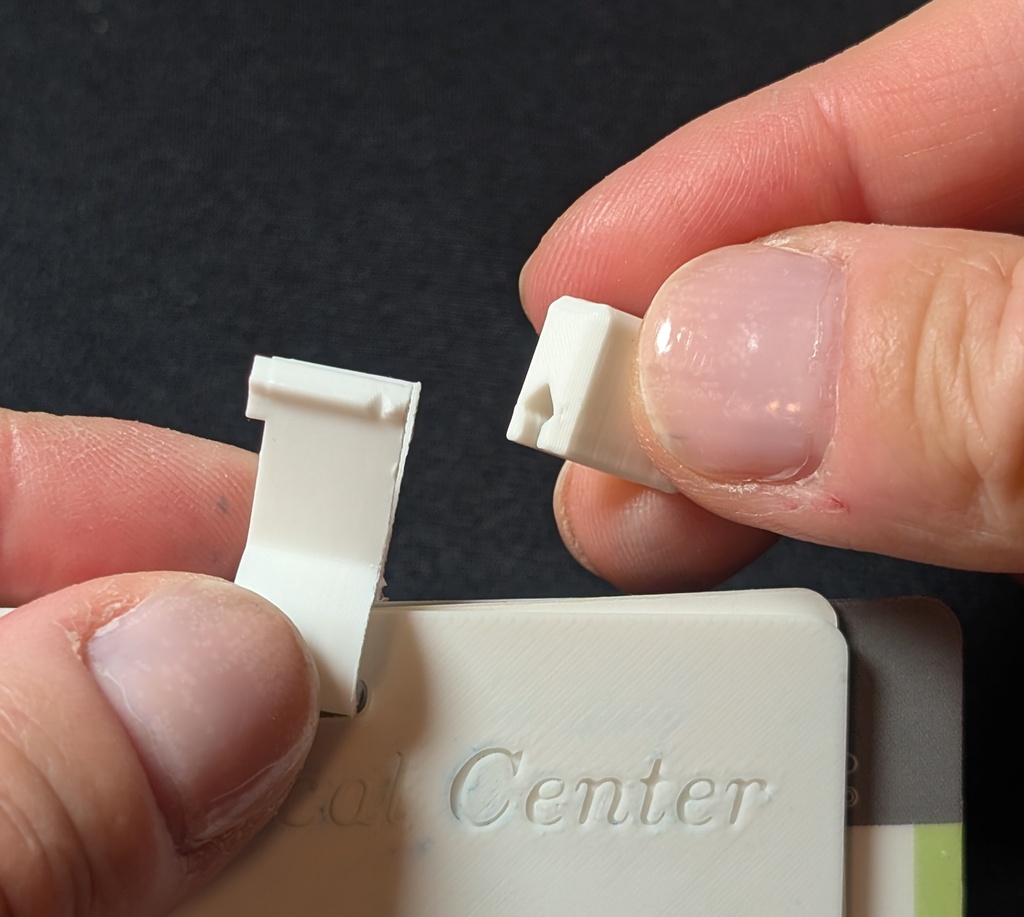 Orient the badge loop so that the retention dots are facing the badge magnet block.
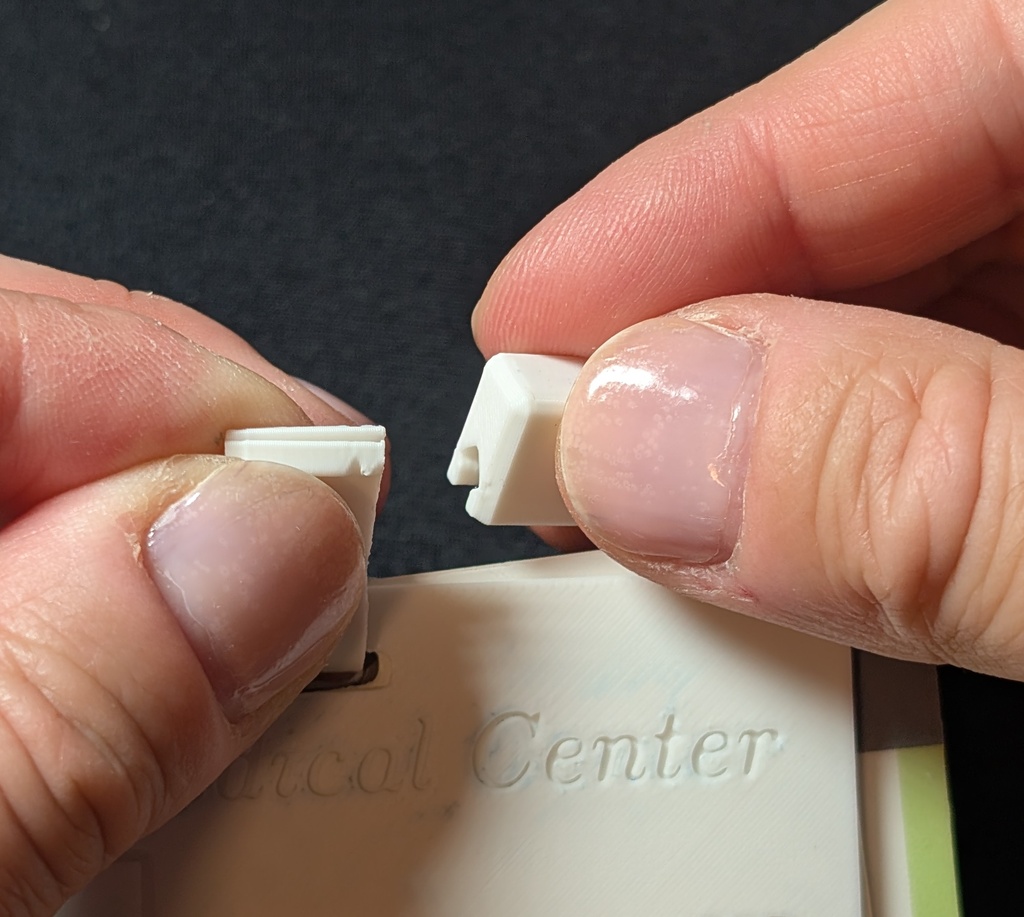 Pinch the ends (barbs) of the badge loop together, holding it by the side with the protrusion.
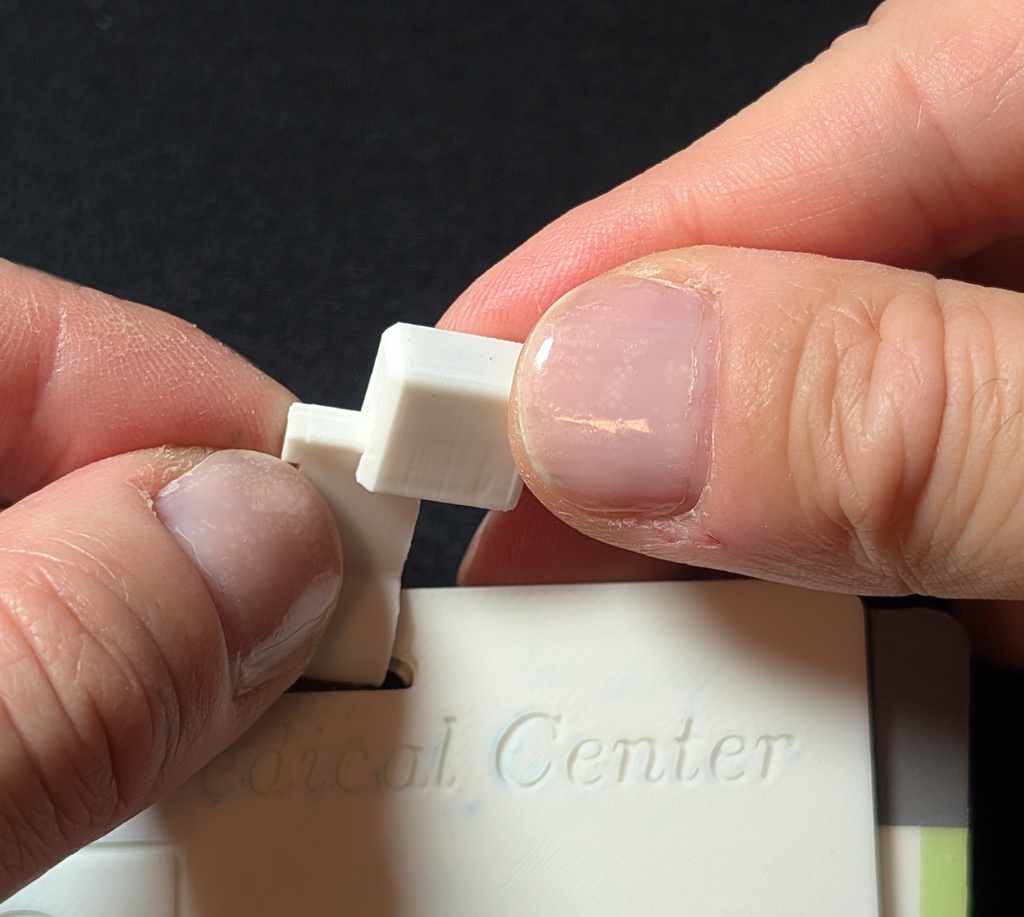 Slide the barbs into the magnet block, taking care to keep the arms aligned as well as possible.
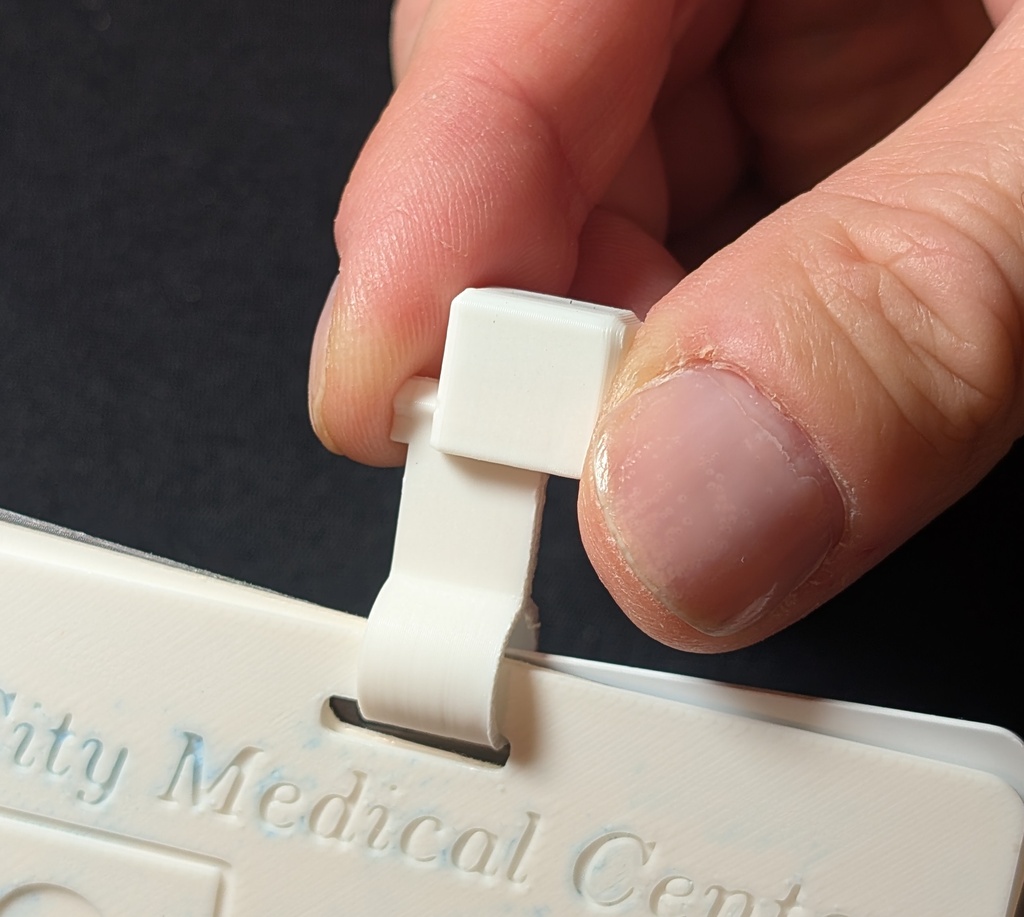 Push the barbs all the way into the magnet block
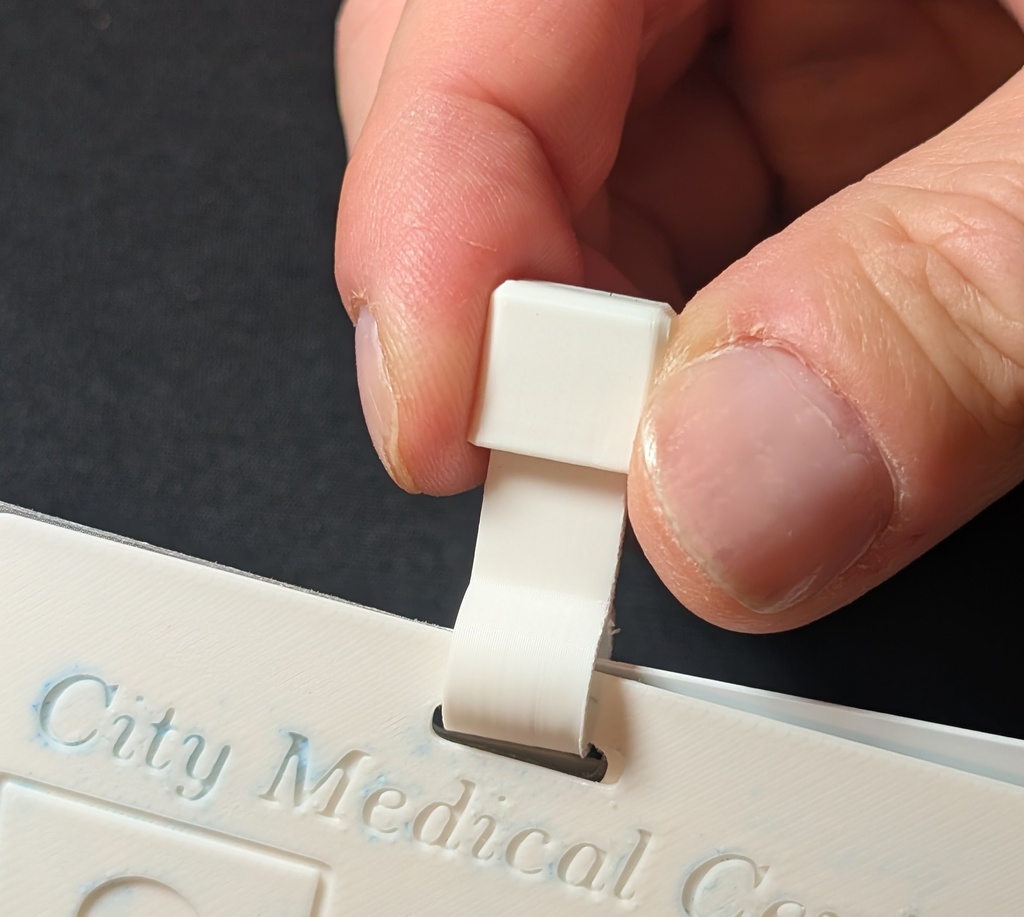 You will feel a soft click when the protruding ends are flush with the side of the magnet block.
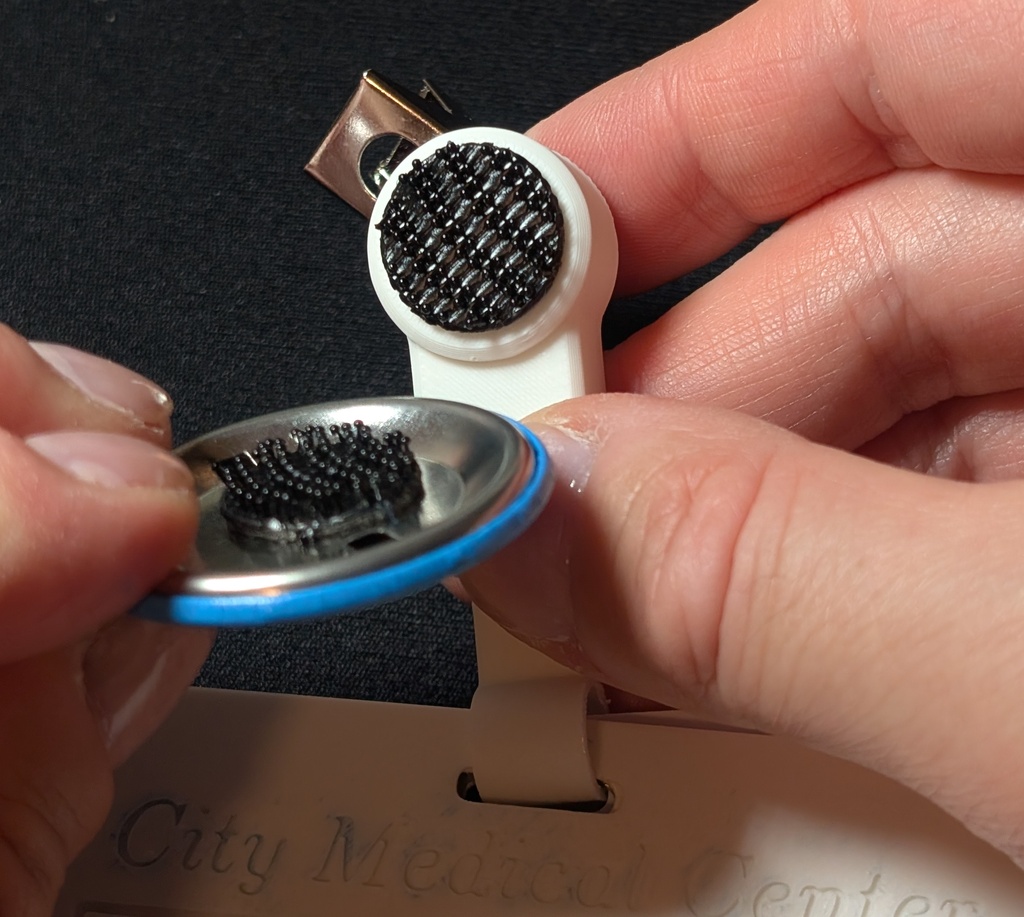 If you have a topper/flair, you can attach it to the fastener to complete the look.
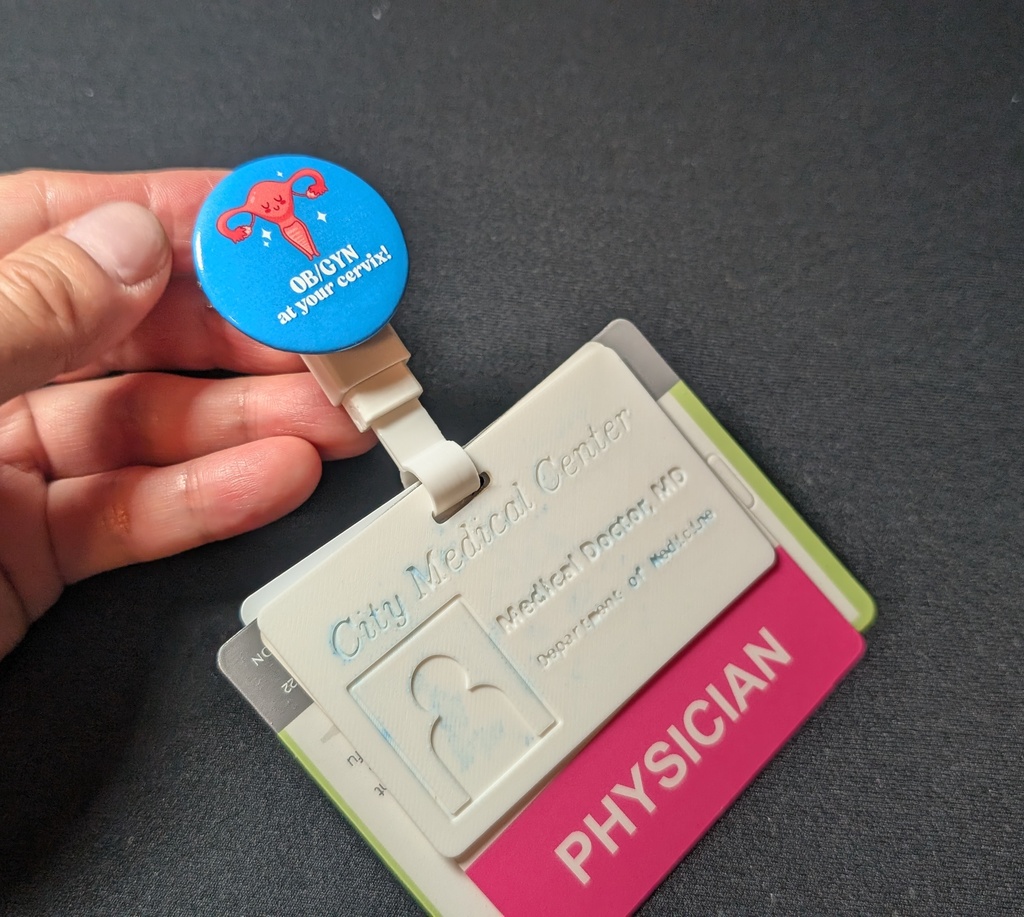 Done!
Done!
🔝
Opening the badge loop
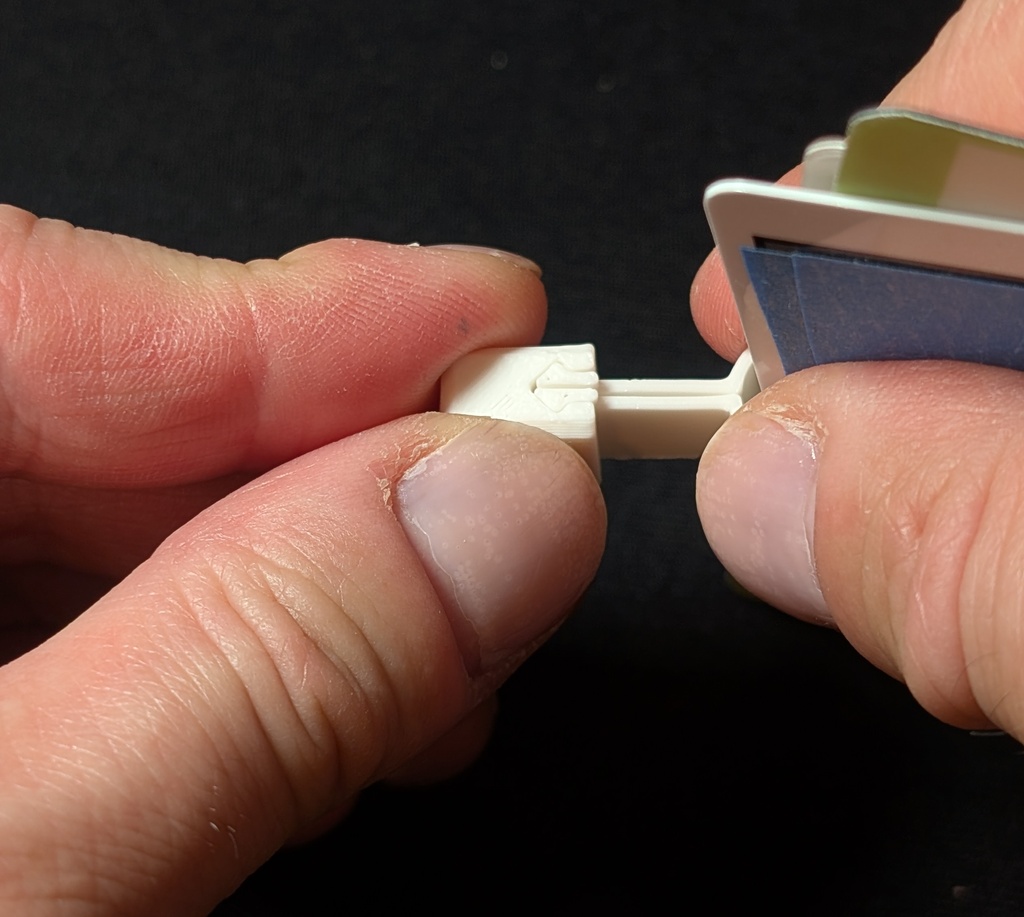 Check to verify which side of the magnet block has the slide opening.
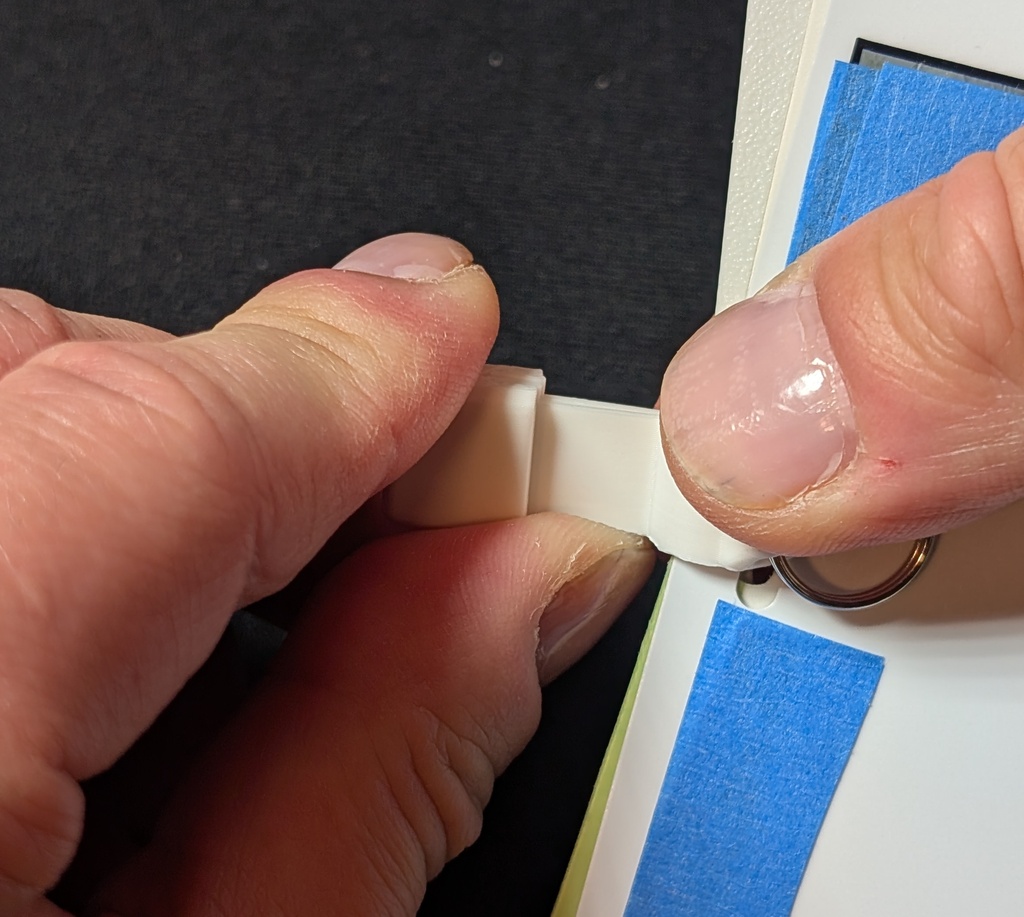 While holding the magnet block, push the stem of the badge loop from the other side.
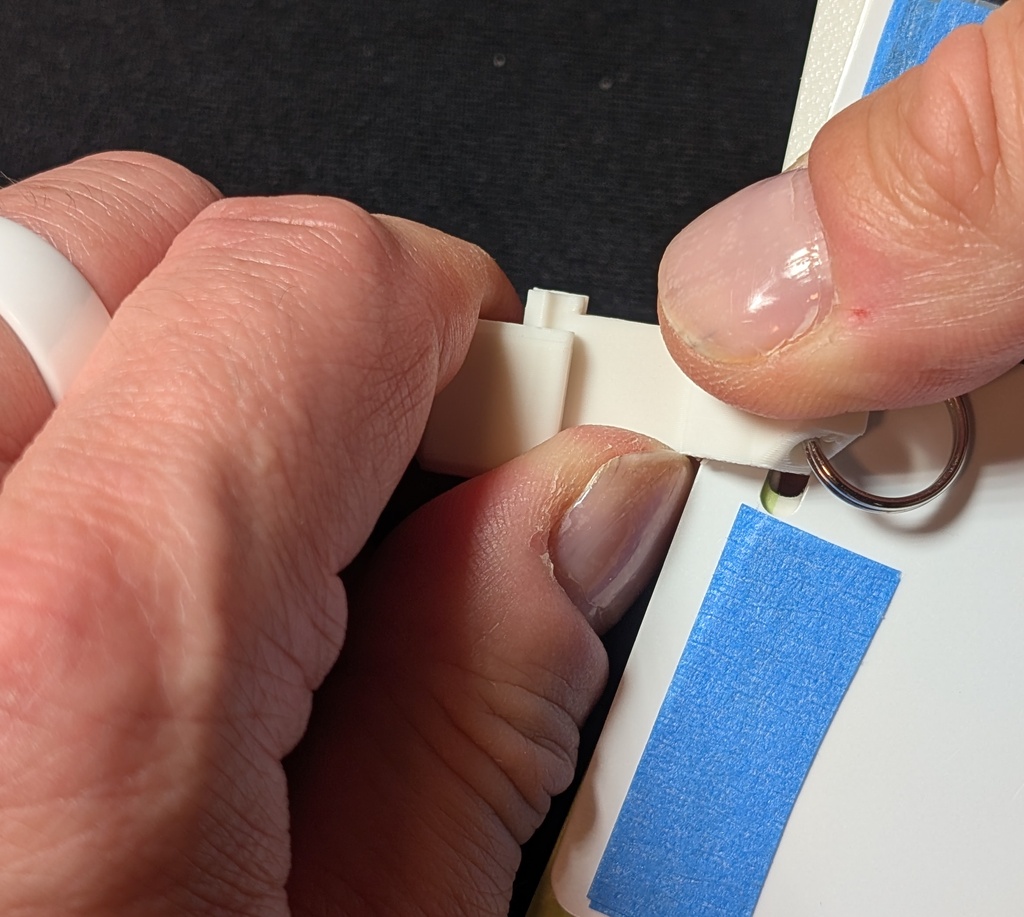 You will feel a click as the badge loop is released.
🔝
Badge loop is stuck
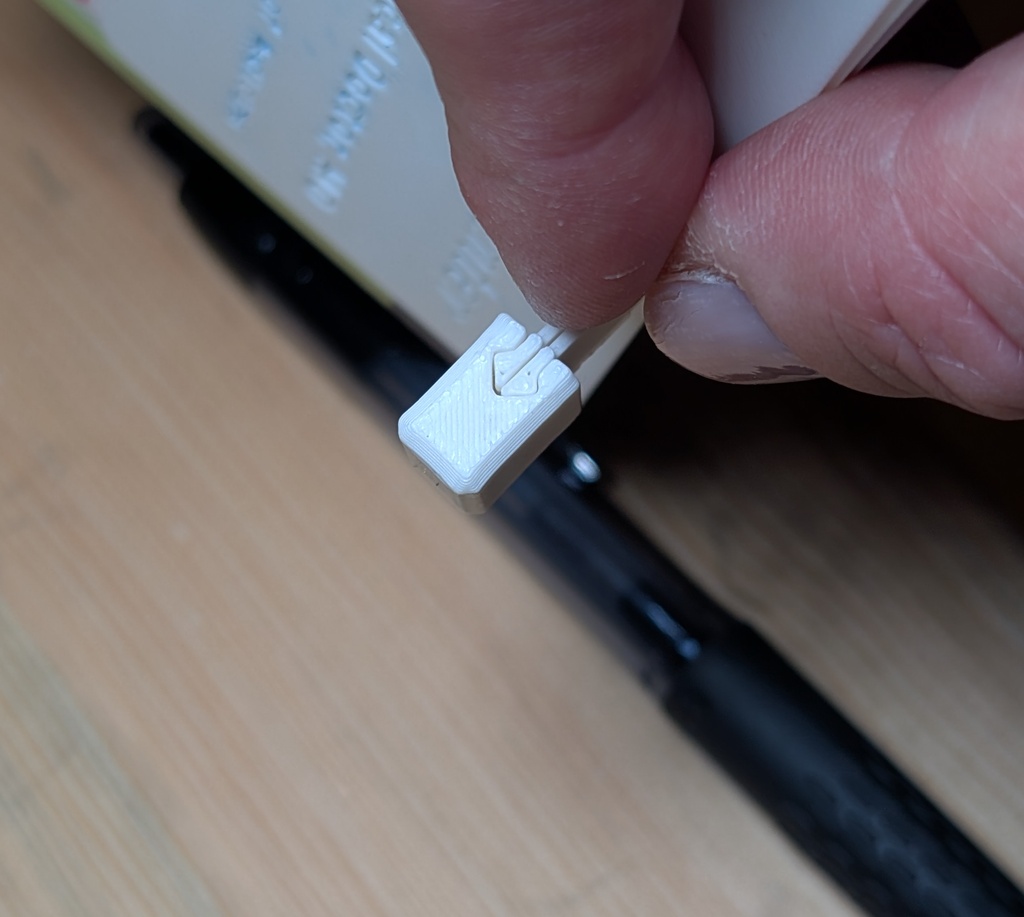 Check to verify which side of the magnet block has the slide opening.
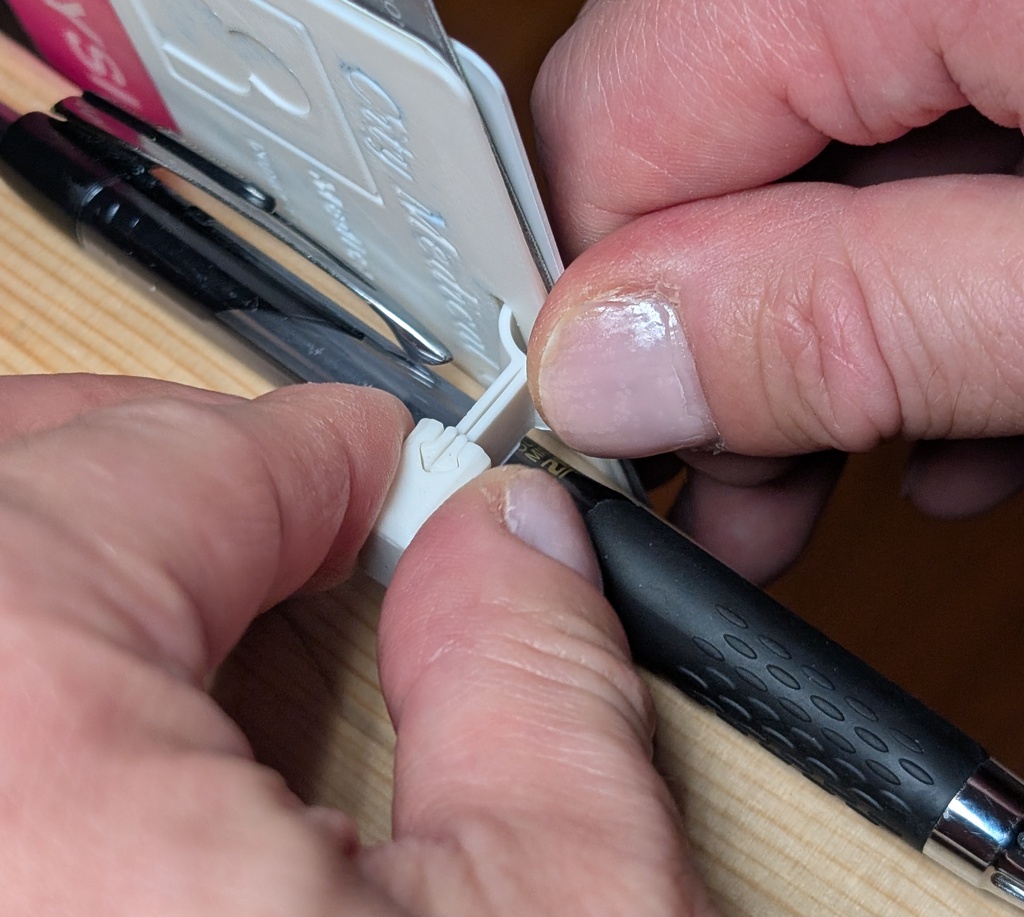 Place the stem of the badge loop on a pen (or other firm object), with the slide opening facing up. You may want to do this on the edge of a table/desk so the ID cards have somewhere to go.
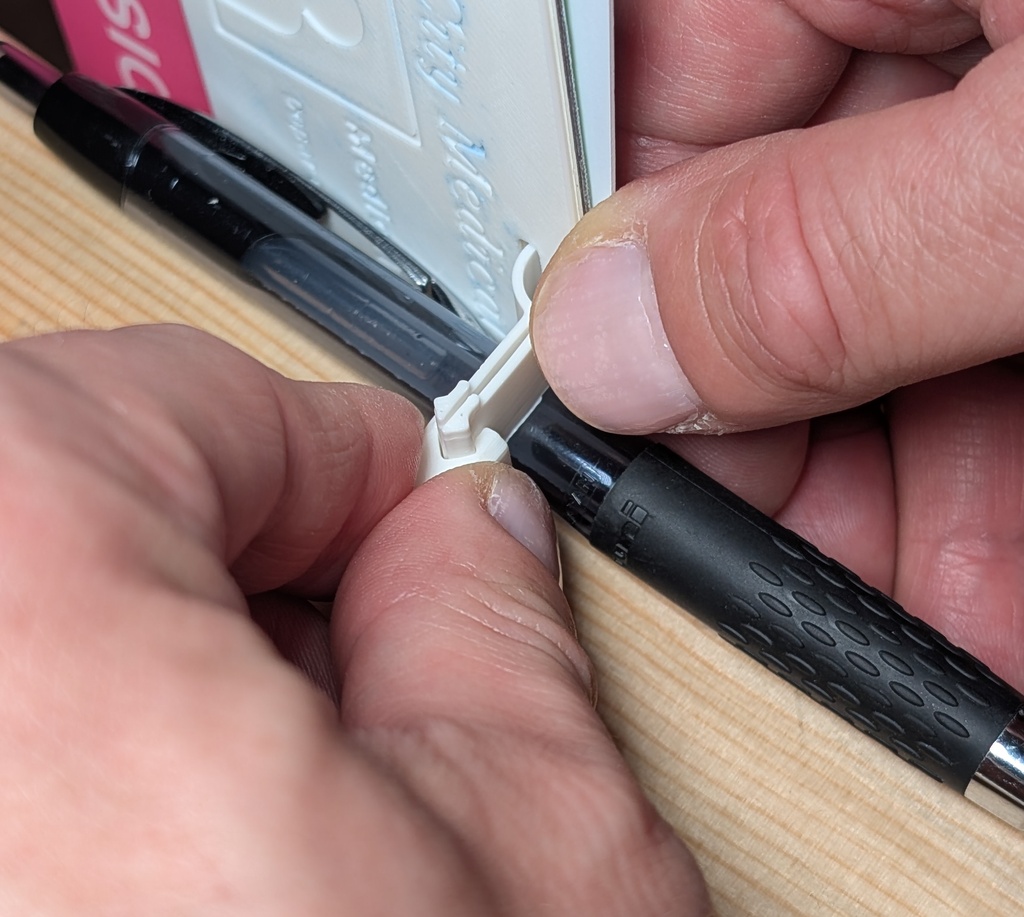 Push down firmly on the magnet block to release the badge loop.
🔝
Badge loop is loose
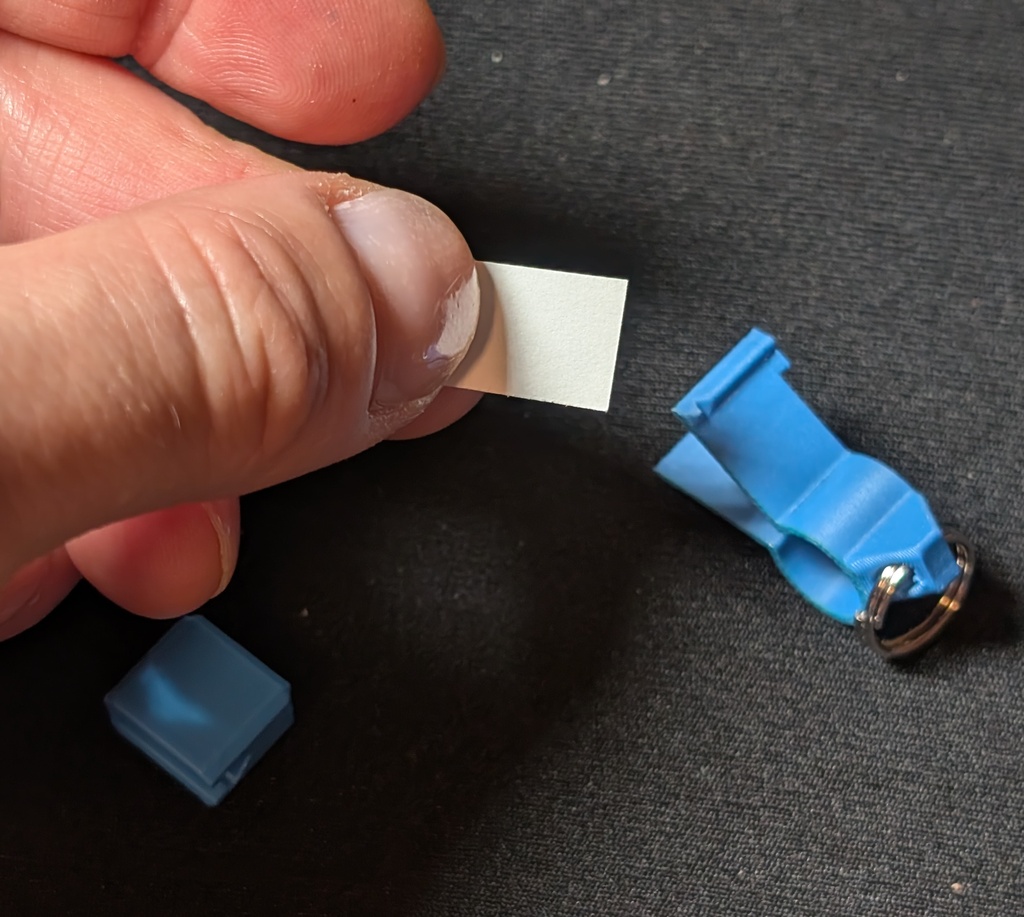 If the badge loop feels loose in the magnet block, you can easily remedy this with a slip of paper.
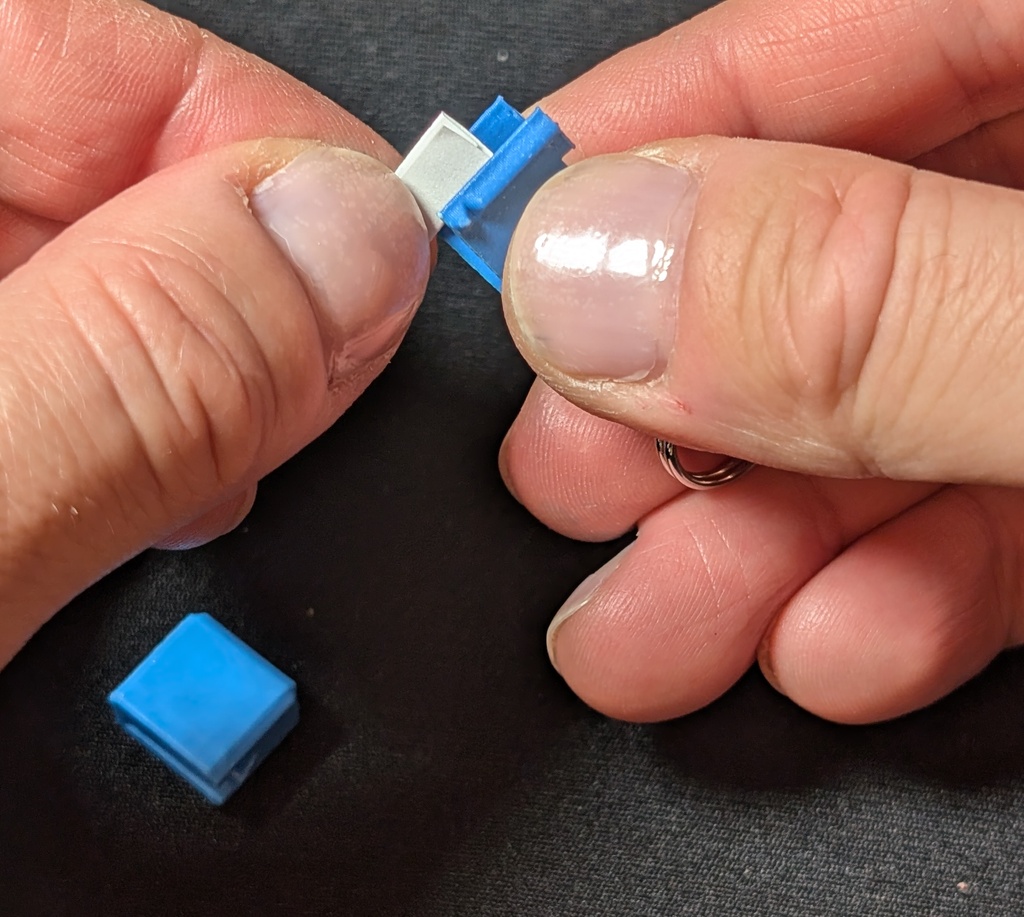 Fold the small slip of paper a couple times and sandwich it between the arms of the badge loop.
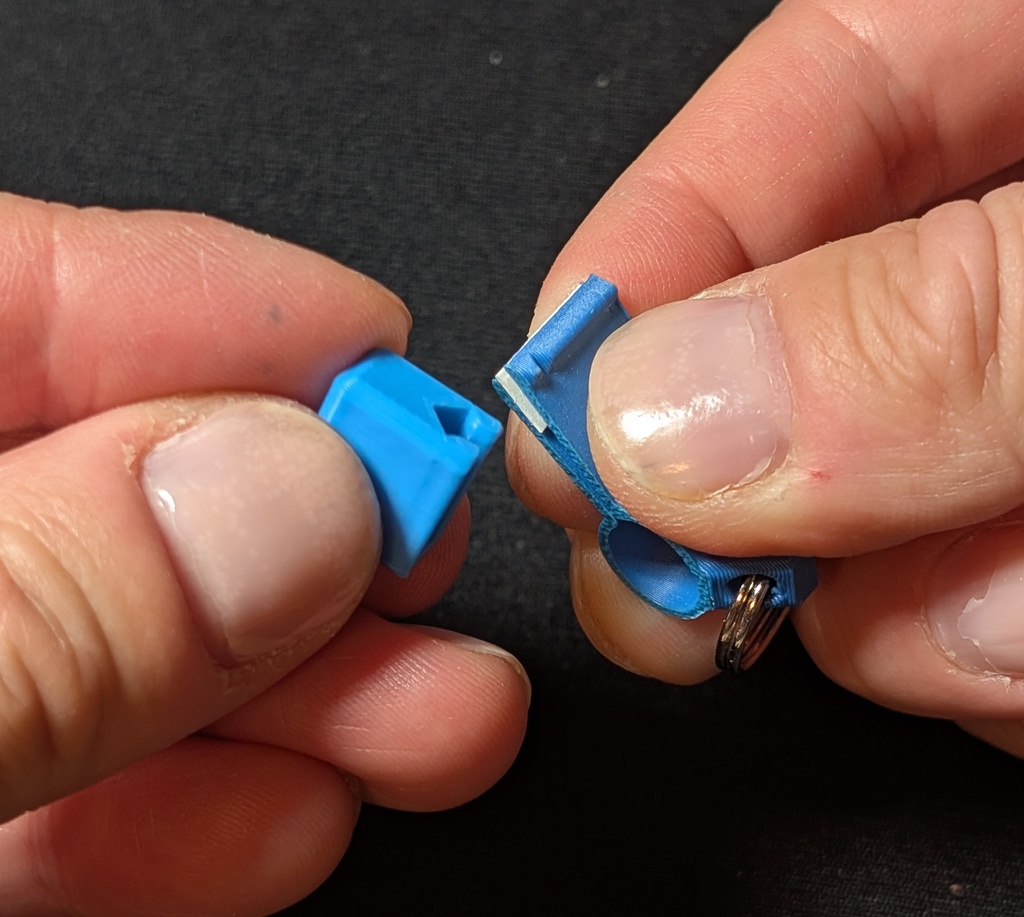 With the paper in place, slide the badge loop into the magnet block.
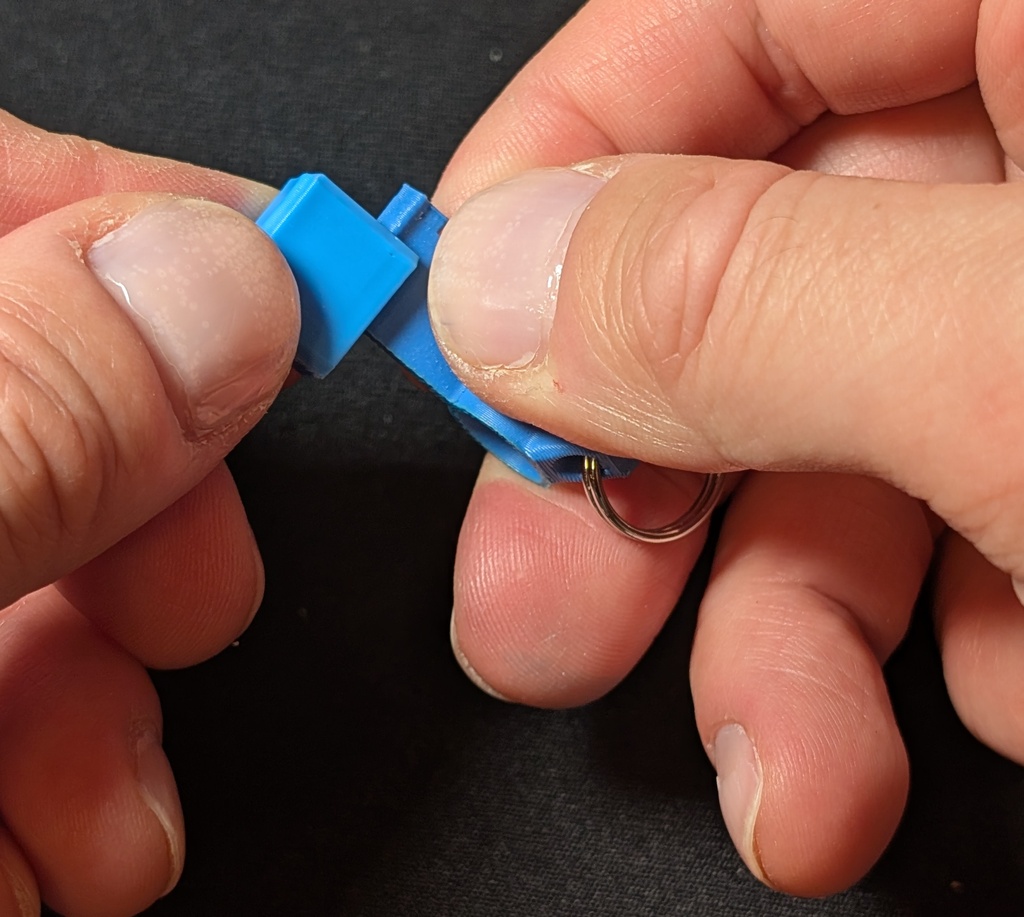 The increased friction should make it fit snugly. More folds == more friction.
🔝
Where can we get badge toppers?
- You can find compatible badge toppers (the decorative part of badge reels) on Etsy for both the Velcro and Dual Lock versions. Search for "Interchangeable badge topper" or something like that.
- If you have an old badge reel whose decoration you want to use, you can make your own topper.
Harvesting old badge toppers
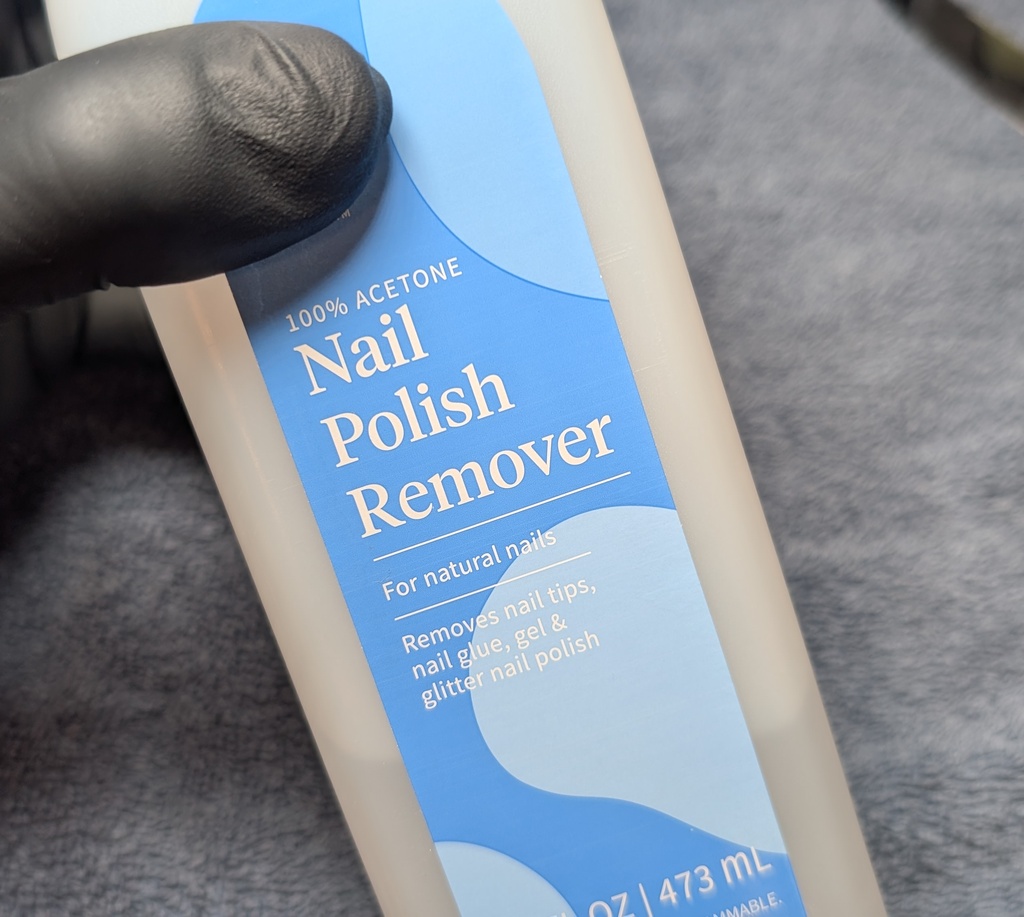 Here are instructions on how to remove the topper from an old badge reel. Keep in mind, this will likely destroy (or at least permanently scar) the badge reel itself.
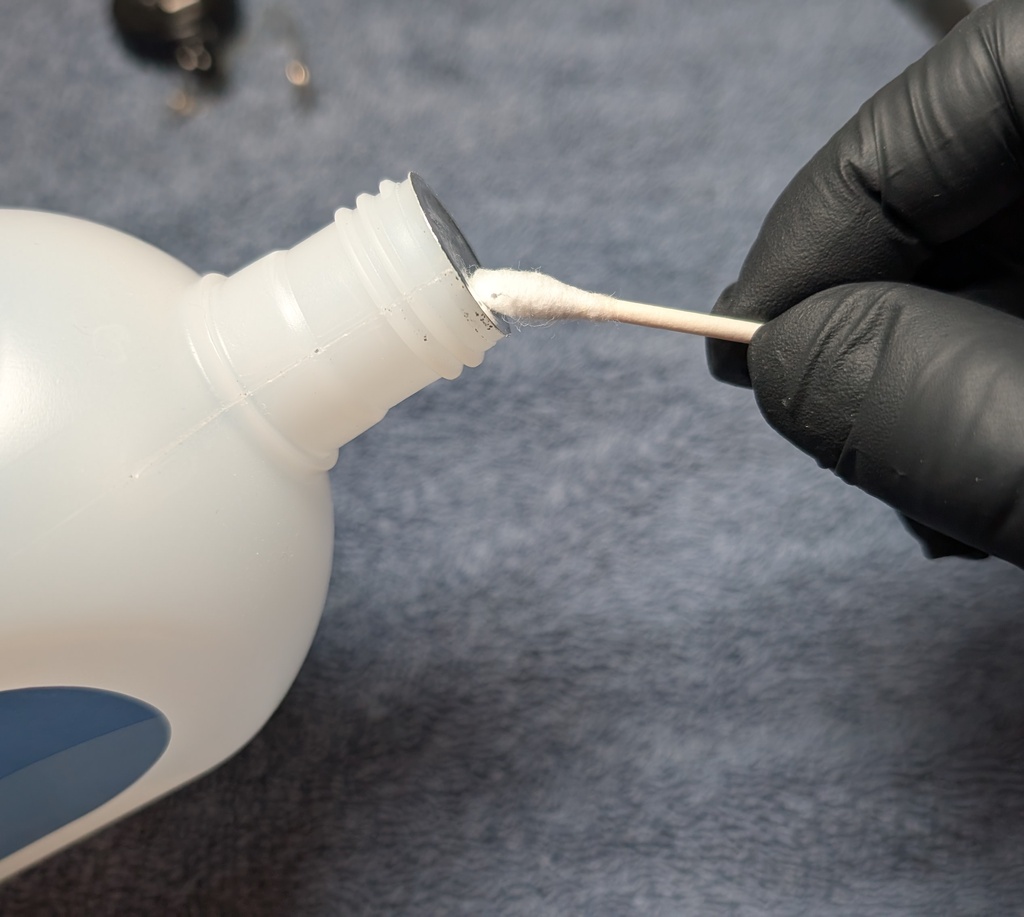 You only need a small amount of acetone, so put a couple drops on a cotton swab.
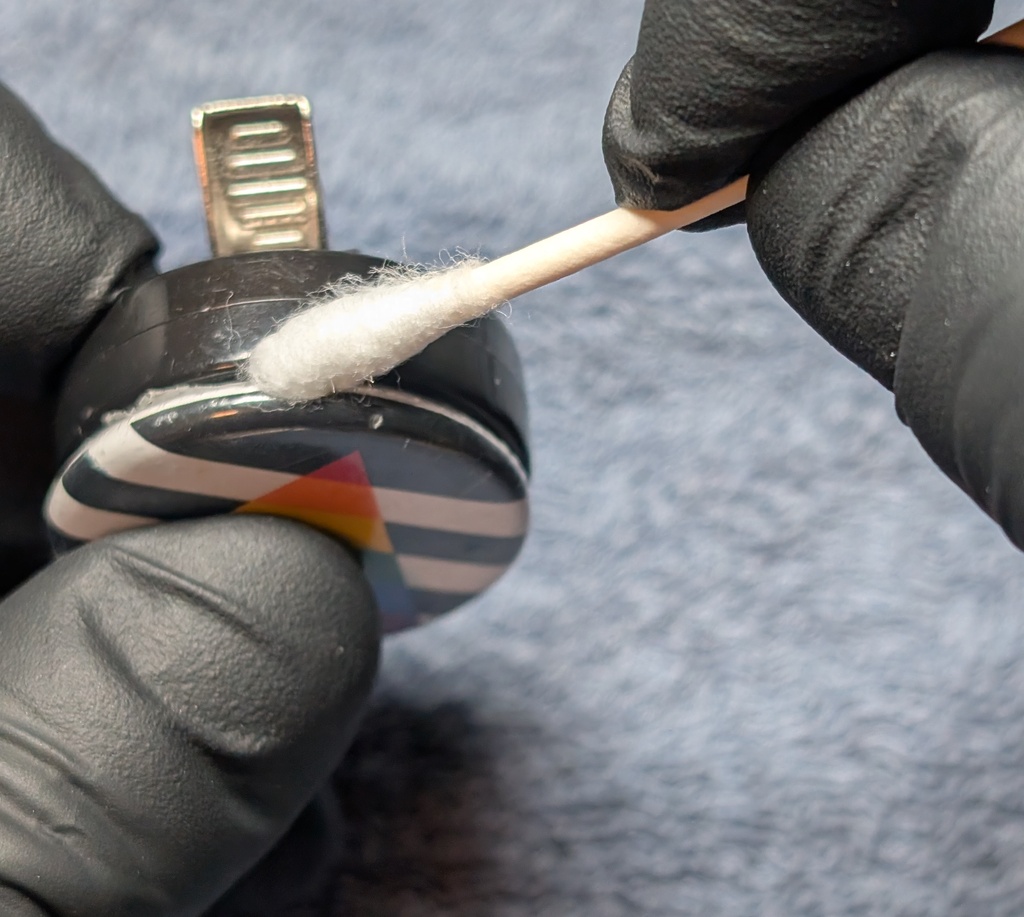 Dab the bit of acetone onto the glue holding the topper in place.
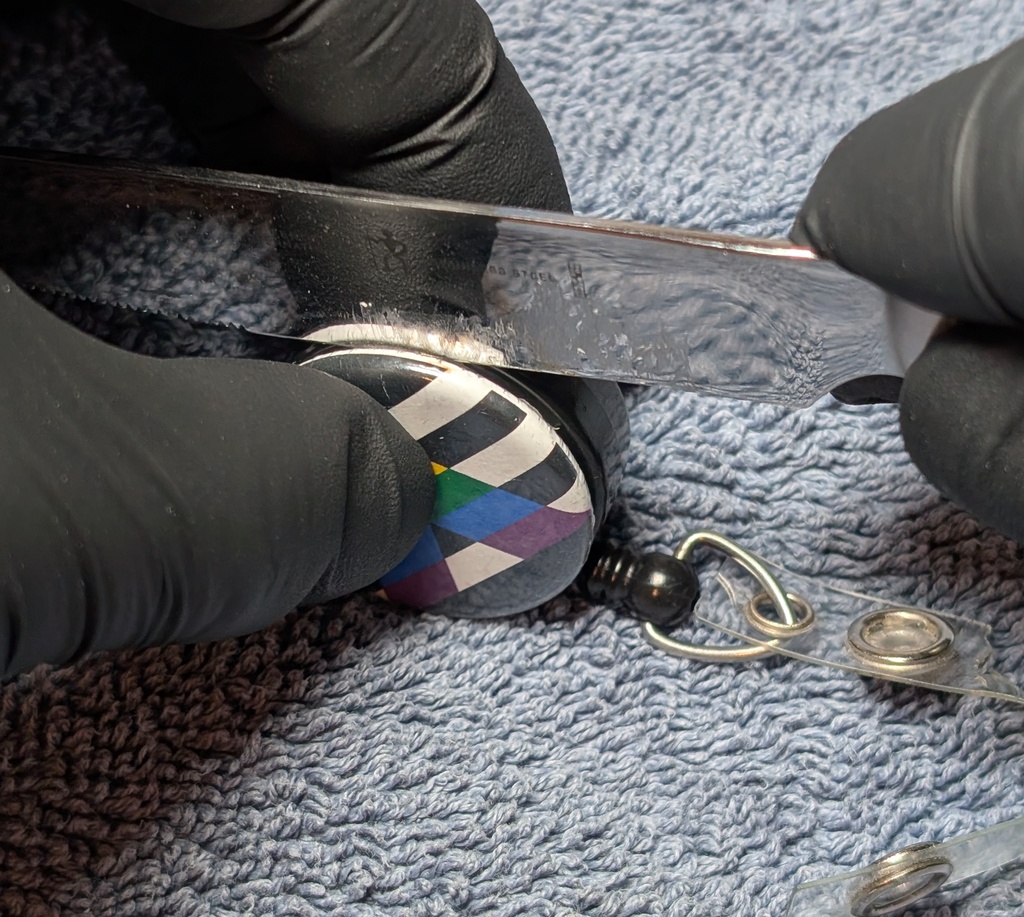 Then take a kitchen knife or other thin object and carefully slice/pry through the glue layer.
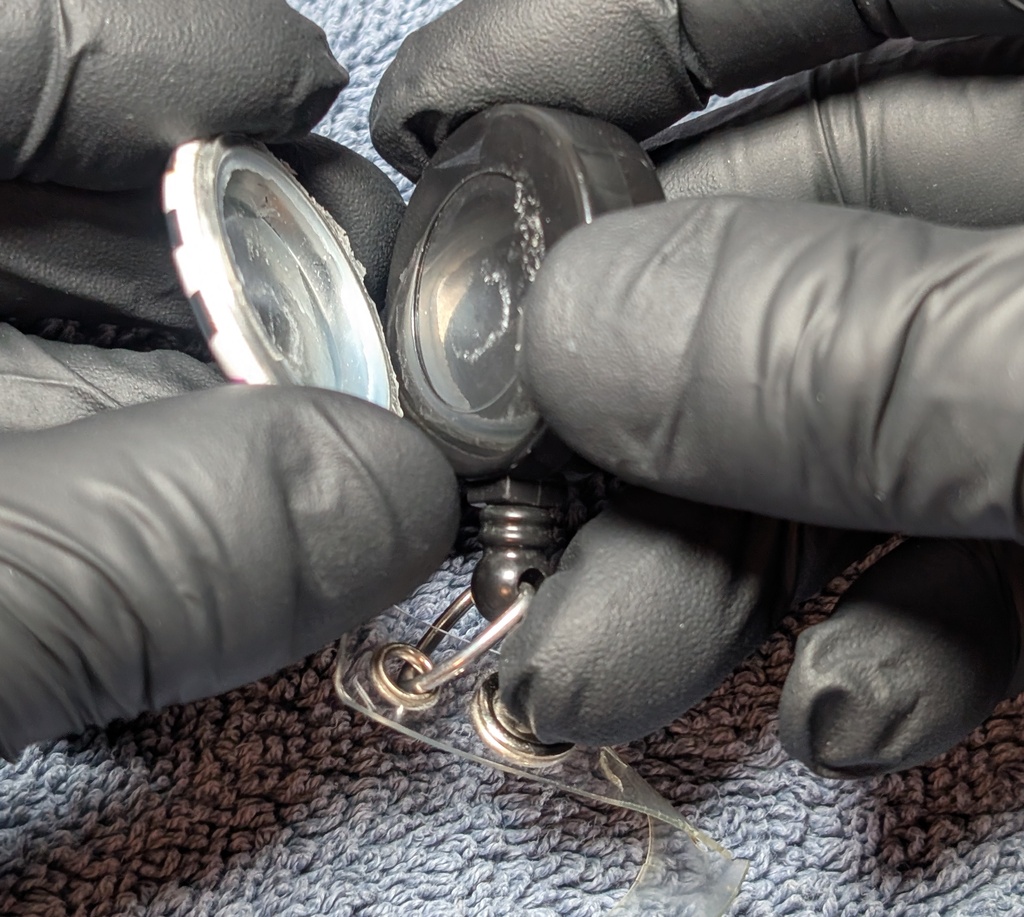 With a bit of careful effort, the topper should come off.
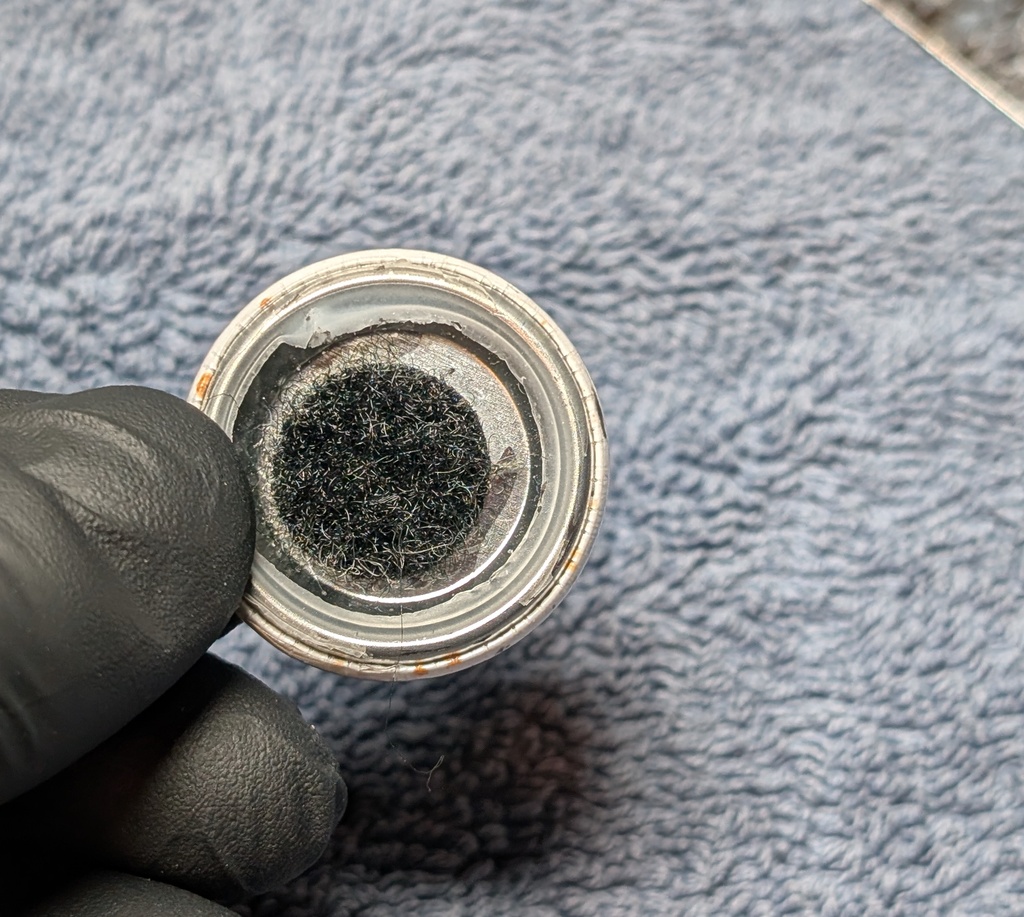 Stick a piece of matching fastener (Velcro or Dual Lock) on the back side of the decal.
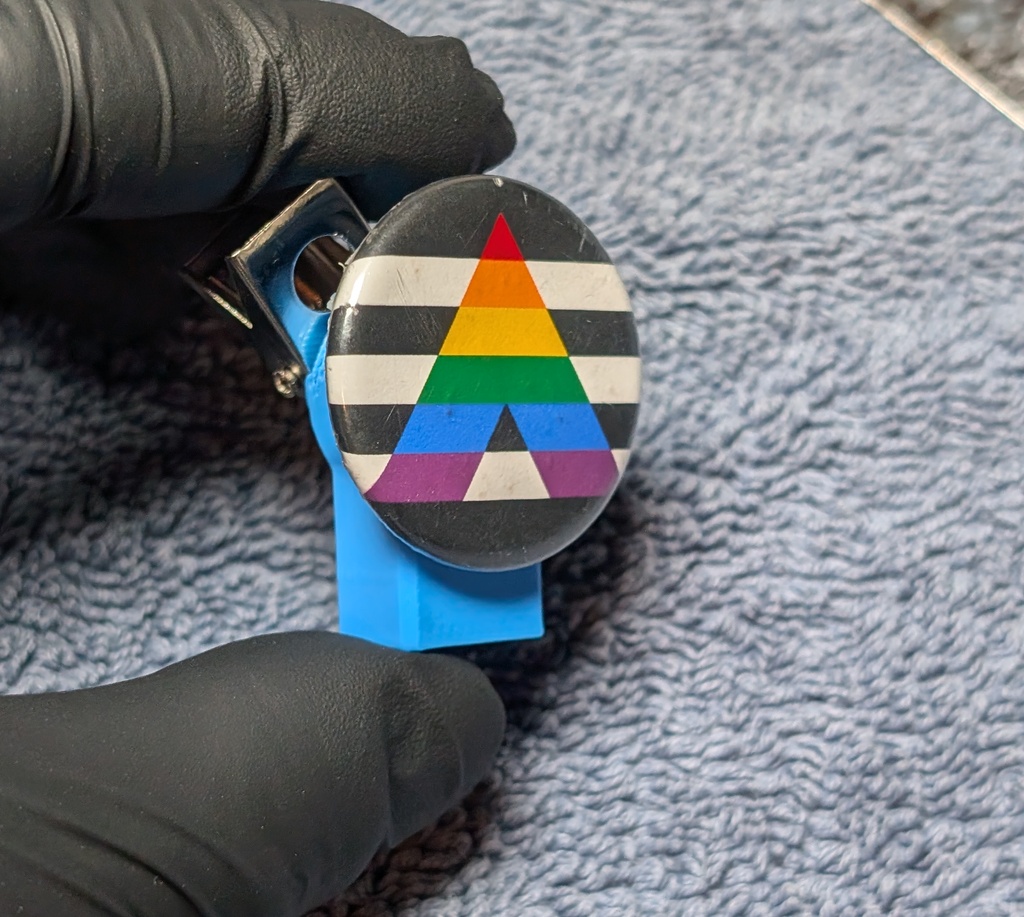 Done!
Done!- The plastic part of the badge reel will probably melt, so use gloves if you don't want plastic goo all over your hands.
- If the topper is plastic, test it first to make sure it won't dissove in acetone.
🔝
Velcro vs Dual Lock
- If you make your own badge toppers, you will need to find fasteners that match your Badger.
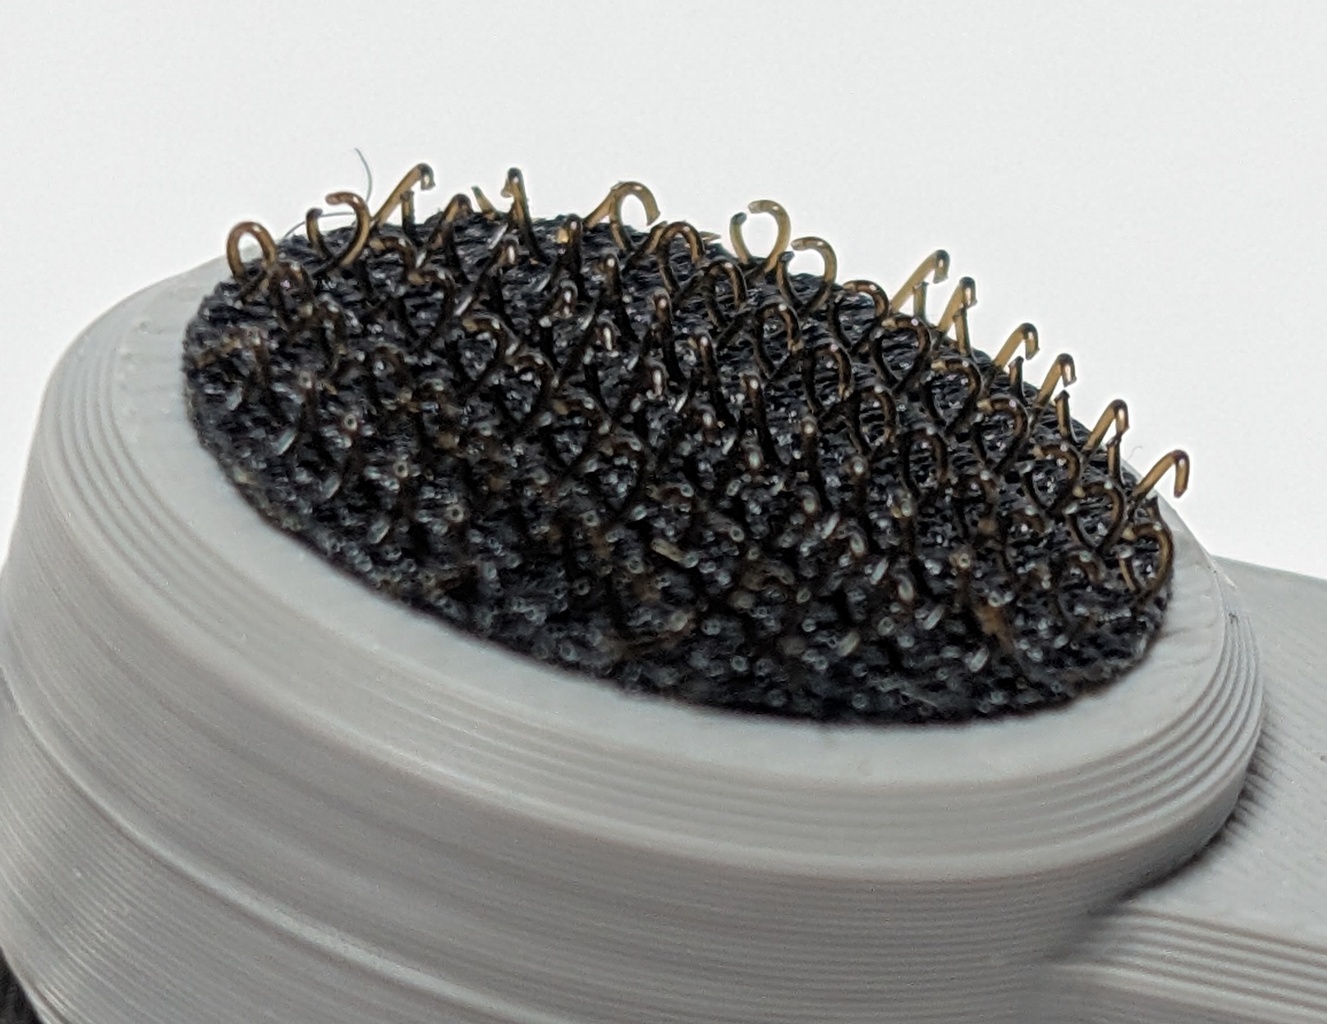 Velcro (aka hook and loop) is a common fastener type. One side has the slightly stiff "hook" structures (pictured), and the other side has a fuzzy texture. It's less expensive, so it's generally easy to find compatible items.
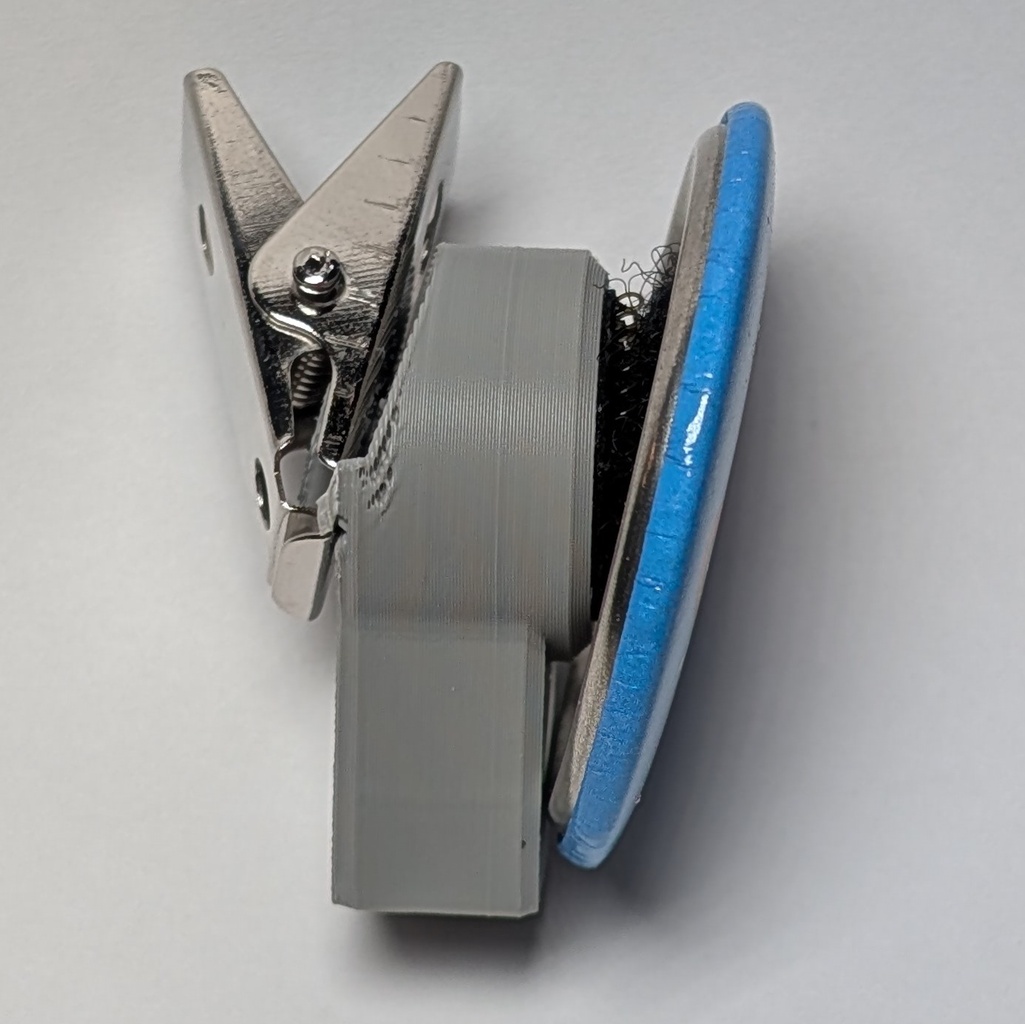 The downside is that it's not very stable when the surface area is small.
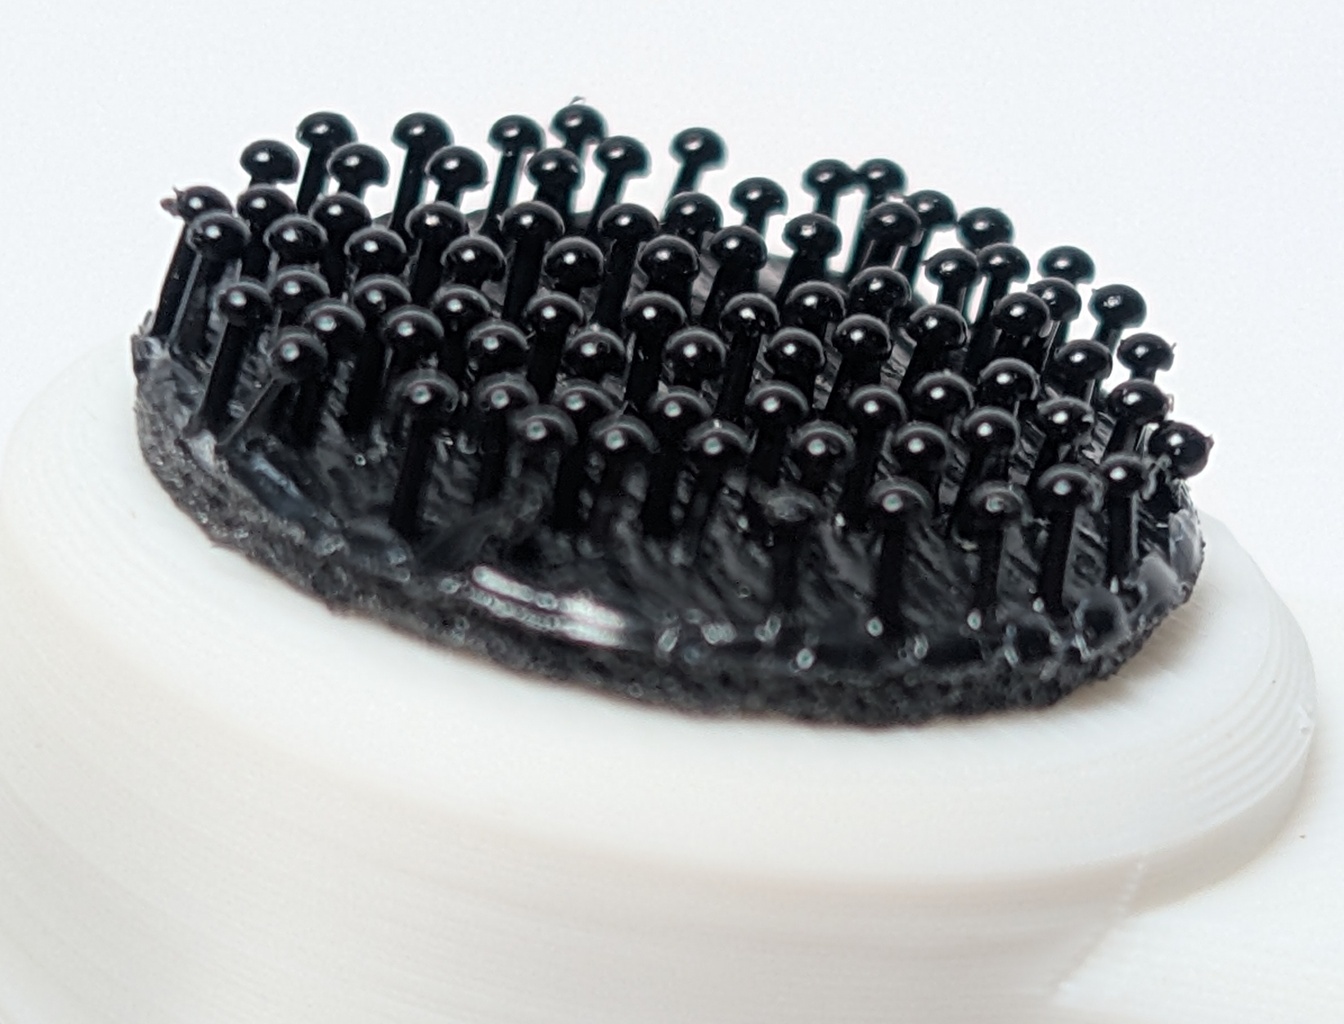 3M Dual Lock is similar to hook & loop closures except both sides have the same stiff mushroom-shaped structure.
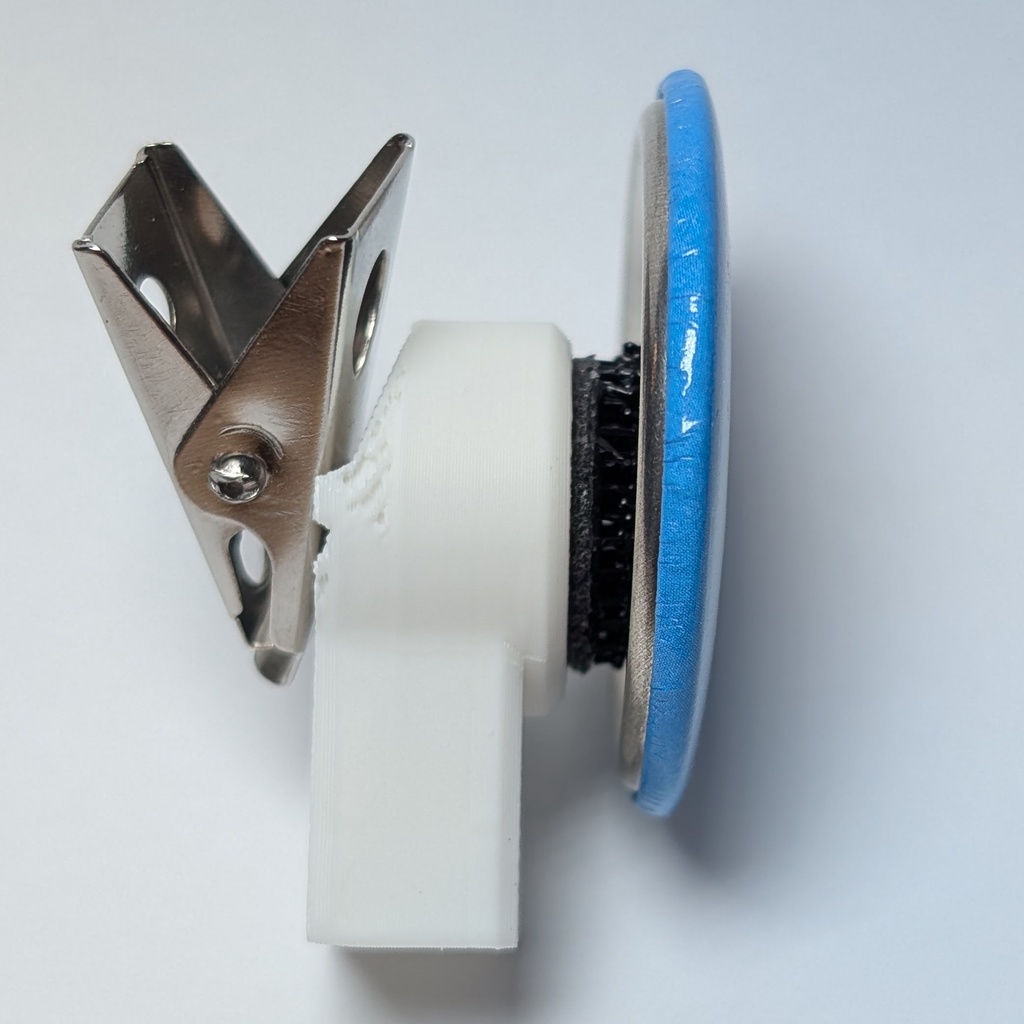 It's more expensive than hook and loop, but the attachment is strong and stable; it doesn't wobble the way a Velcro/hook and loop fastener might.
🔝
The screw broke
- The clip is held in place by a plastic screw. If the screw breaks, you can reattach the clip with a spare screw.
3D print file
Here is the 3MF print file for the screw. Recommended print settings:
- 0.08mm layer height
- Outer brim
- Scarf seam
- Hold the clip so the larger holes are facing down
- Pinch the clip
 to open the jaws as wide as they go.
- Slide the screw past the jaws and let it slip into the large hole.
- Insert a flat head screw driver (#0 or 2.5mm) through the small hole to drive the screw.
- Unfortunately the top hole of the clip does not align with the bottom hole when the clip is closed, so you will need to hold the clip open while you screw it in place.
- Make sure the screw is perpendicular to the angled slope on the back of the body unit.
🔝
Broken piece of screw is stuck inside the screwhole.
- Heat the end of a narrow screwdriver (#0 or 2.5mm) to above 80°C (176°F). You can do this by running it under very hot water, or passing it through a flame briefly.
- Press the end of the screwdriver into the broken piece of screw.
- Let it cool, then unscrew to remove it.
- Caution: You will end up with melted PLA residue on the end of the screwdriver, so don't use that antique designer screwdriver that you keep locked in a display case.
🔝